

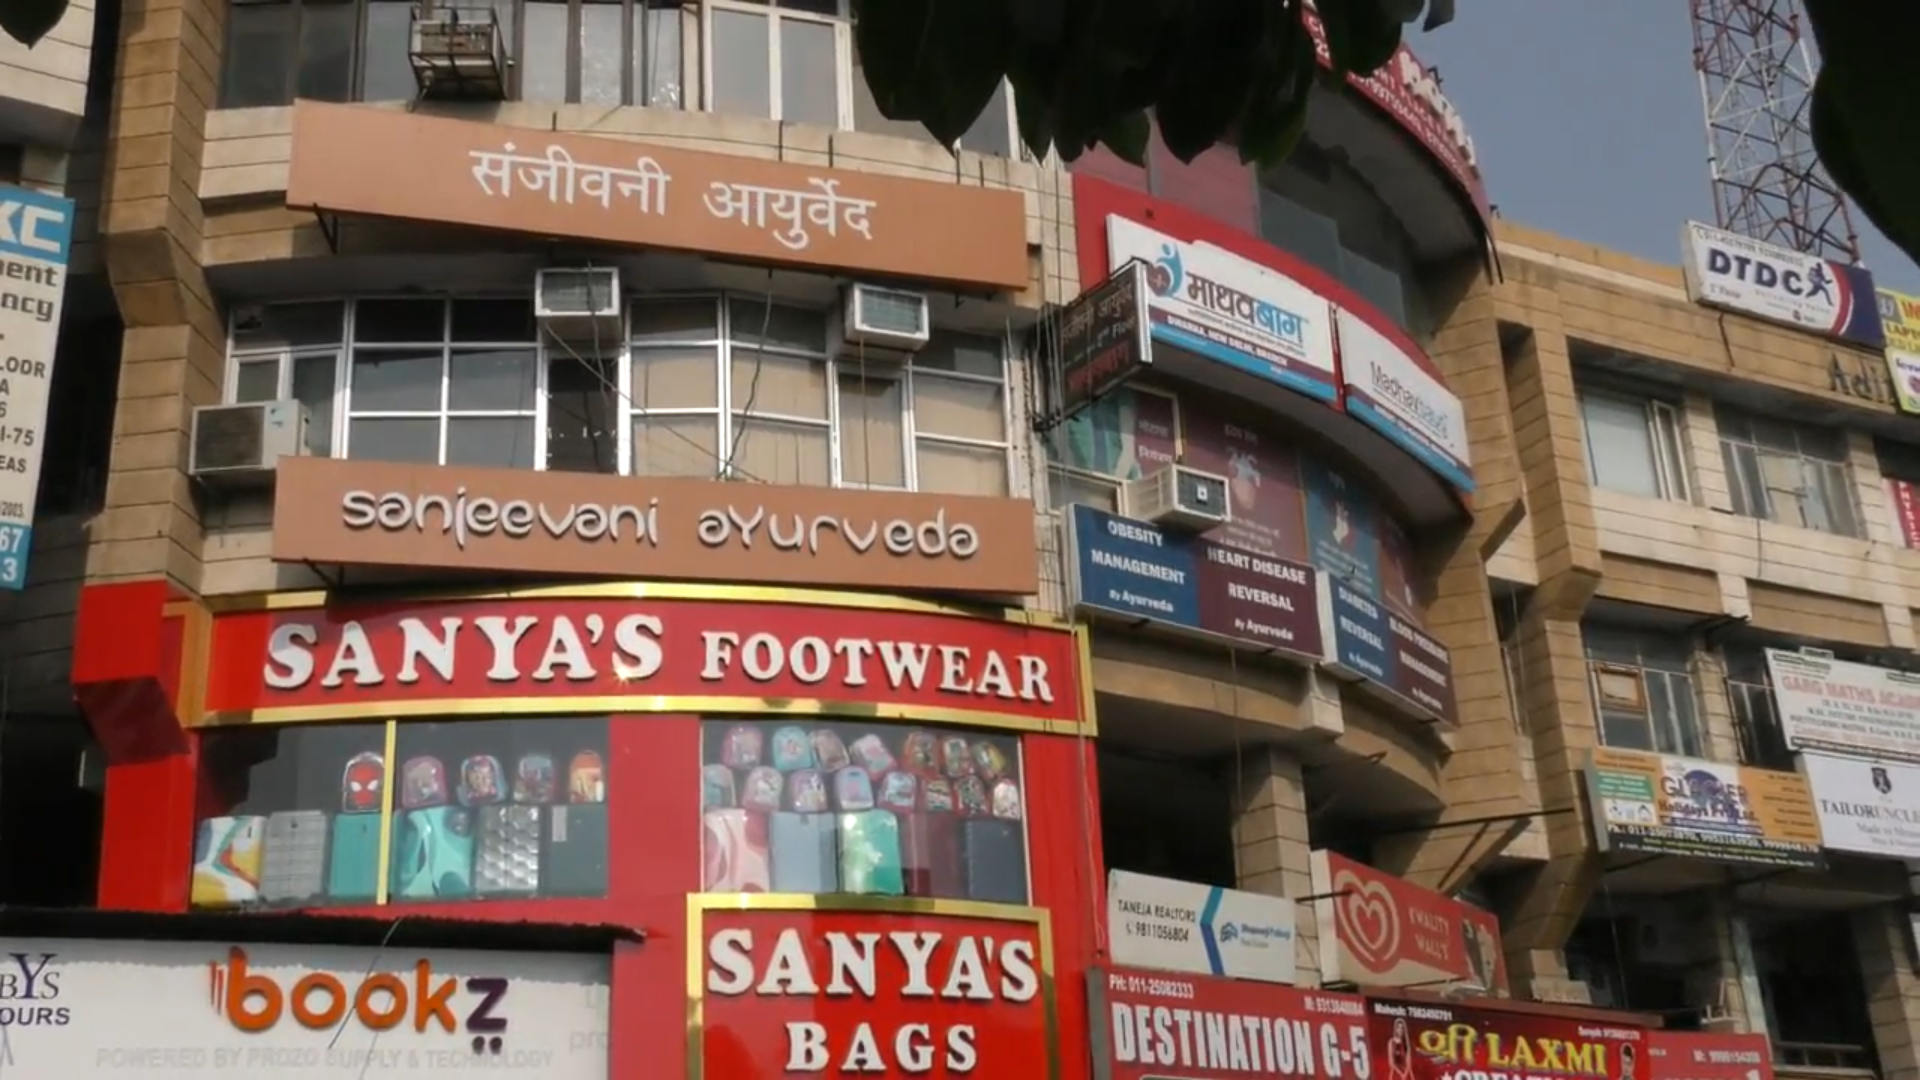
Plot no-54, Upper Ground Floor, Opposite Pragati Public School (Gate no. 2), Near Reliance Mall, Sector 13 B, Dwarka, New Delhi 110078
For Appointments & Consultation: 011-450 340 48, +91-9560-1131-89
For General Enquiry: +91-888-22-99-444
Mail us on: info@sanjeevaniayurveda.com
© 2024 Sanjeevani Ayurveda.


")